Decide on the products you want to sell
If you’re starting a Shopify store from scratch, you need to decide on the products you want to sell. This can be a difficult decision, especially if you’re not sure what kind of products will be popular with your target audience. Do some research and create a list of potential products to sell. Once you have a list of potential products, narrow it down to the ones that you think will be the most popular and profitable.
Once you’ve decided on the products you want to sell, it’s time to start setting up your store. Shopify makes it easy to create a professional-looking online store with all the features and functionality you need to start selling your products. Follow the steps below to get started.
Choose your Shopify plan and domain name
Shopify has four different plans, and each one comes with its own set of features. To help you decide which plan is right for you, we’ve created a comparison chart.
Once you’ve selected your plan, you’ll need to choose a domain name for your store. Your domain name is the address people will use to find your store online (for example, www.mystore.com). If you don’t have a domain name yet, don’t worry – Shopify can help you choose and buy one.
Set up payment methods
Now that you have your Shopify store set up, it’s time to start adding products! But before you can do that, you need to set up some payment methods so that your customers can actually buy those products. In this blog post, we’ll show you how to set up some of the most popular payment methods for Shopify stores.
First, you’ll need to log in to your Shopify account and go to the ‘Payments’ section of your admin panel. From there, you can choose which payment methods you want to enable for your store. Shopify supports a wide range of payment providers, so you should be able to find one that fits your needs.
Once you’ve chosen a payment provider, you’ll need to enter some basic information about your business and account. This includes things like your business name, address, and contact information. You’ll also need to provide some financial information so that Shopify can process payments on your behalf.
Once you’ve entered all the required information, click ‘Save’ and you’re ready to start accepting payments!
Add products to your store
Adding products to your Shopify store is easy! You can add products manually, or you can use a product CSV file to bulk add products. To add products manually:
1. From your Shopify admin, go to Products > Add product.
2. Enter a product title and description.
3. Choose a product type, then enter the price and compare at price (if applicable).
4. Optionally, add tags to help organize your products (e.g. “spring collection”).
5. If you have a physical product, enter its weight and dimensions. This information is used to calculate shipping rates.
6. Add one or more variants for the product, then click Save product.
Now that you know how to add products to your Shopify store, you can start building your inventory!
Customize the look of your store
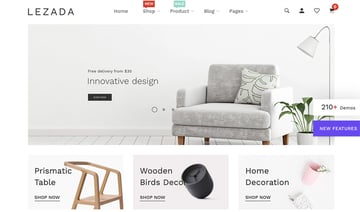
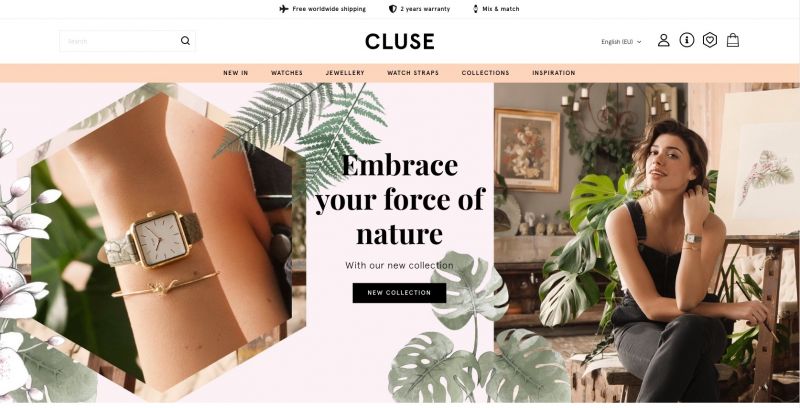
Building a Shopify store is easy, but making it look great can be a bit more challenging. Fortunately, Shopify makes it easy to customize the look of your store with their built-in themes and customization options. In this article, we’ll show you how to build a beautiful Shopify store that reflects your brand and style.
First, start by choosing a theme that fits the overall look and feel you want for your store. Shopify has dozens of free and paid themes to choose from, so you’re sure to find one that’s perfect for your business. Once you’ve selected a theme, take some time to explore the customization options. With most themes, you can change things like the color scheme, font style, and layout without needing any coding knowledge.
If you want to really make your store stand out, consider hiring a Shopify expert to help with the customization process. They can help you create a unique design that perfectly reflects your brand identity. No matter what route you decide to go, building a beautiful Shopify store is easy with a little time and effort.
Drive traffic to your store
The blog section is a great place to share your store’s story, build up your brand, and attract new customers. But how do you make sure that your blog posts are reaching the right people?
Here are some tips for driving traffic to your Shopify store with your blog:
1. Use social media to share your posts
Make sure to share each of your blog posts on social media. This will help to increase the reach of your posts and get more people interested in what you have to say.
2. Use relevant keywords
When you’re writing your posts, be sure to use relevant keywords so that people can easily find them when they’re searching online. This will help you to attract readers who are already interested in what you have to say.
3. Promote your posts through email marketing
If you have an email list, be sure to promote each new blog post through it. This will help to ensure that your loyal readers don’t miss out on any of your latest content.
By following these tips, you can drive more traffic to your Shopify store and attract new customers with your blog.
Conclusion
Building a Shopify store is a great way to get started in ecommerce. It’s easy to use and has everything you need to get started. Plus, there are plenty of resources available if you need help along the way. In this article, we’ve walked you through the process of setting up your Shopify store from start to finish. We hope you found it helpful!
🚨 Need Expert Shopify Help? Available 24/7
Sandy Rowley provides hands-on Shopify emergency support, domain recovery, and expert consulting — for the problems Shopify's own team can't always solve.
📞 Call 775-870-0488 — Open 24/7Shopify Support Services
All Shopify Support Services
Shopify Store Emergency Recovery
Shopify Domain Recovery
Shopify Plus Expert Support
Shopify DNS & Cloudflare Help
Hacked Shopify Account Recovery
Shopify Store Technical Audit
Shopify Support Guides